The templates used for transactional email are formatted with HTML and CSS, and can be easily edited. In addition, you can customize the template by adding variables and frontend apps.
Many of the default email templates contain placeholder information that should be changed before any transactional email messages are sent to customers. When the template is ready to be used, make sure to update your system configuration, so the updated template will be used instead of the previous version.
Step 1: Choose a Default Template
- On the Admin menu, select System > Templates > Transactional Emails.
- Click the Add New Template button.
- In the Load default template section, choose the default Template you want to use as a starting point. Then, click the Load Template button.

- If necessary, set the Locale to the store language.
- Click the Load Template button.

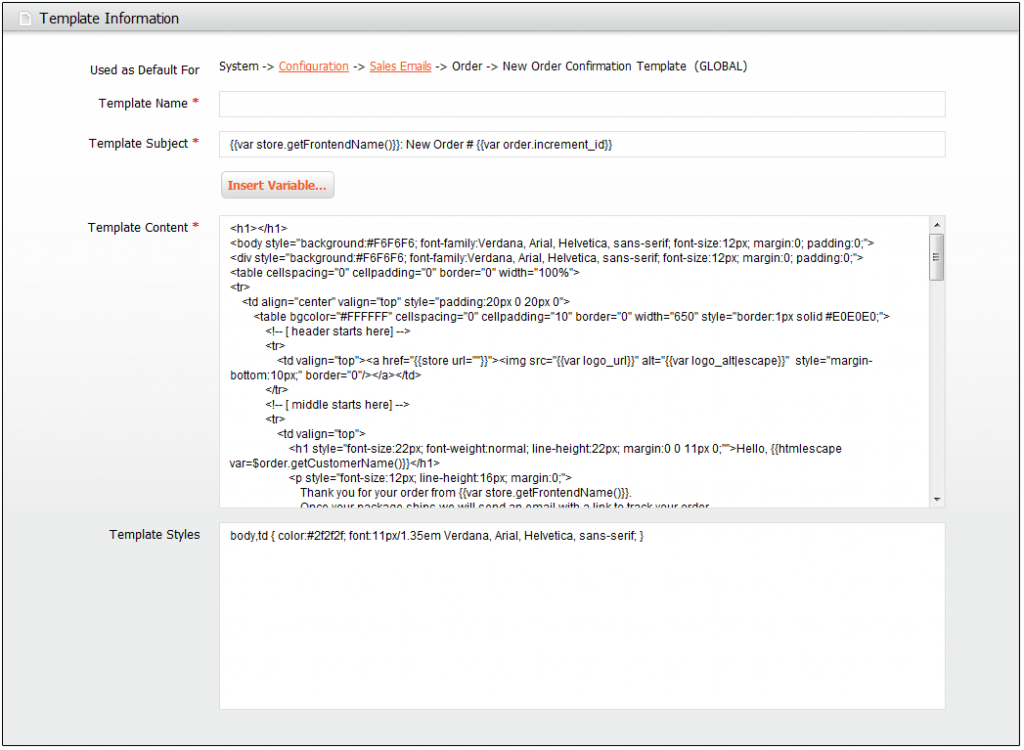
Template Information
The path to the configuration settings for each default template appears at the top of the Template Information section. Make note of the "Use as Default for" path, because you will later need to update the configuration with the name of the new template.
Step 2: Customize the Content
- In the Template Information section, do the following:
- Enter a Template Name for the new email template.
- In the Template Subject field, type the text to appear in the Subject header of the message.
- Complete the Template Content, according to your needs.
- (Optional) To insert a variable, do the following:
- Position the cursor in the text where you want the variable to appear. Then, click the Insert Variable button.
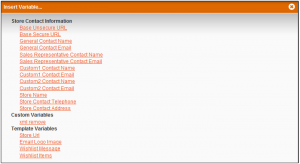
- In the list of available variables, select the one you want to insert into the template.

Insert Variable - (Optional) To insert a frontend app, do the following:
- Position the cursor in the text where you want the frontend app to appear. Then, click the Frontend App button.
- In the list of available frontend apps, select the one you want to insert into the template.
- When complete, click the Save Template button.
- After completing the template, make sure to Preview the message before associating it with a transactional email message that is sent to customers.
Step 3: Update the Configuration
Before the template can be used, the configuration must be updated with the name of the new template. Refer to the path that you recorded in Step 1 when updating your configuration with the name of the new template.
- On the Admin menu, select System > Configuration.
- In the Configuration panel on the left, under Sales, select Sales Emails.
- To learn more, see: Configuring Email Templates.
- (Optional) To insert a frontend app, do the following:


